PLAYCANVASを学習中。

HTML/CSS UI | Learn PlayCanvas
このTutorialで、ボタンを押すとクリックした回数が増えるサンプルがあるので、これを見て、ボタンをクリックした情報をどのように処理しているのかを学びます。
サンプルの検証

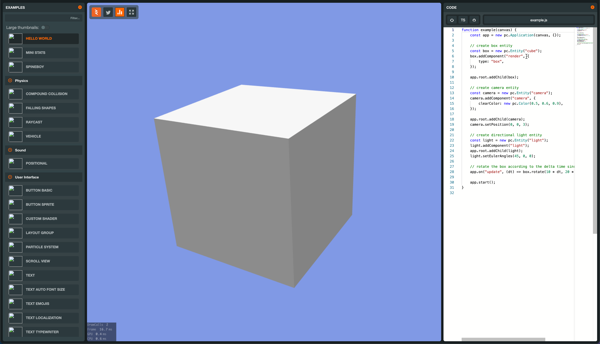
HIERARCHYには、camera,box(Entity),html+css(Entity)の3つがあります。

ASSETSには、box、skyboxのフォルダがあり、このskyboxはどうやら背景の画像っぽいです。boxは画面に表示されるものです。
直下ファイルとして、css,html,turn.js,ui.jsの4つがあります。
コードの確認
<div class='button'>BUTTON</div>
<div class='counterBox'>
    times clicked <span class='counter'>0</span>
</div>
<div class='text'>
    Hit the button to increment the counter<br />
</div>
Htmlのコードはこちら。
var Turn = pc.createScript('turn');

Turn.prototype.update = function (dt) {
    this.entity.rotate(0, dt * 90, 0);
};
turn.jsのコード。
このdtという値ですが、スクリプトの構造 | Learn PlayCanvasを見ると、
各フレームのdtは、最後のフレームからの秒単位の時間となる引数として渡されます。
となっており、PLAYCANVAS上で決まった変数のよう。
var Ui = pc.createScript('ui');

Ui.attributes.add('css', {type: 'asset', assetType:'css', title: 'CSS Asset'});
Ui.attributes.add('html', {type: 'asset', assetType:'html', title: 'HTML Asset'});

Ui.prototype.initialize = function () {
    // create STYLE element
    var style = document.createElement('style');

    // append to head
    document.head.appendChild(style);
    style.innerHTML = this.css.resource || '';

    // Add the HTML
    this.div = document.createElement('div');
    this.div.classList.add('container');
    this.div.innerHTML = this.html.resource || '';

    // append to body
    // can be appended somewhere else
    // it is recommended to have some container element
    // to prevent iOS problems of overfloating elements off the screen
    document.body.appendChild(this.div);

    this.counter = 0;

    this.bindEvents();
};

Ui.prototype.bindEvents = function() {
    var self = this;
    // example
    //
    // get button element by class
    var button = this.div.querySelector('.button');
    var counter = this.div.querySelector('.counter');
    // if found
    if (button) {
        // add event listener on `click`
        button.addEventListener('click', function() {
            ++self.counter;
            if (counter)
                counter.textContent = self.counter;

            console.log('button clicked');

            // try to find object and change its material diffuse color
            // just for fun purposes
            var obj = pc.app.root.findByName('box');
            if (obj && obj.render) {
                var material = obj.render.meshInstances[0].material;
                if (material) {
                    material.diffuse.set(Math.random(), Math.random(), Math.random());
                    material.update();
                }
            }
        }, false);
    }

    if (counter)
        counter.textContent = self.counter;
};
Ui.jsのコード。こちらで全体のコントロールをしている様子。
Ui.attributes.add('css', {type: 'asset', assetType:'css', title: 'CSS Asset'});
Ui.attributes.add('html', {type: 'asset', assetType:'html', title: 'HTML Asset'});
このコードは読み込む外部ファイルを設定しているのかな?

Editorにはこのように表示されています。
Ui.attributes.add('css1', {type: 'asset', assetType:'css', title: 'CSS Asset'});
Ui.attributes.add('html', {type: 'asset', assetType:'html', title: 'HTML Asset'});
このように、Editorで’css1’と変更してセーブ。

PARSEをクリック

Ui.jsをクリックすると

Css1に更新されました。
Ui.attributes.add('css', {type: 'asset', assetType:'css', title: 'CSS Asset'});
Ui.attributes.add('css1', {type: 'asset', assetType:'css', title: 'CSS Asset'});
Ui.attributes.add('html', {type: 'asset', assetType:'html', title: 'HTML Asset'});
さらに、Ui.attributes.addを一行追加。

追加されました。
コードの変更を行ったら、
コードのsave > PARSE > 該当ファイルをクリック
で更新されるようです。
buttonクリックイベントの取得

Buttonがクリックされたイベントについては、bindEventsという関数で .buttonにclickのイベントリスナーを追加して、counterという変数を1増加、

また、表示されているboxオブジェクトの外観を、
material.diffuse.set(Math.random(), Math.random(), Math.random());
このコードでランダムに色を変更するという処理をしています。
turn.js

オブジェクトboxのENTITYの中に、Scriptとしてturn.jsがありました。
このスクリプトは
Turn.prototype.update = function (dt) {
this.entity.rotate(0, dt * 90, 0);
};
となっているので、ENTITYであるboxをひたすらrotateさせるコードのようです。
まとめ
オブジェクトとコードの連携のイメージが少しづつつかめてきました。