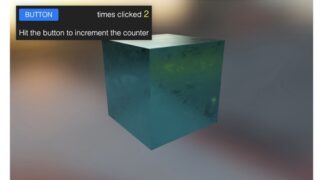
こちらのTutorialで学習
フォークするサンプルプロジェクトはこちら
Overview | Dashboard | Tutorial: Basic Mouse Input | PlayCanvas | 3D HTML5 & WebGL Game Engine
サンプルプロジェクトの検証
サンプルプロジェクトをフォーク。
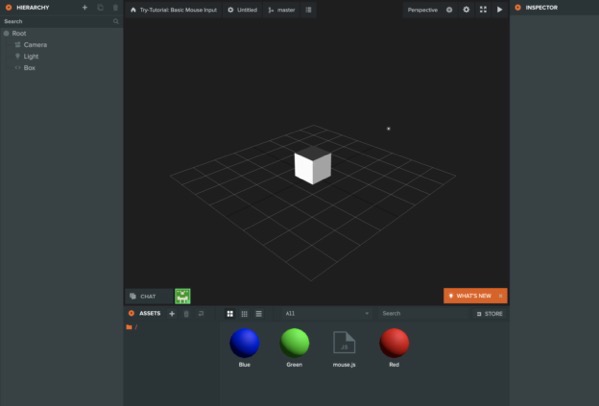
エディターを開いた画面。

実行すると、白いキューブがマウスの動きに合わせて動く。
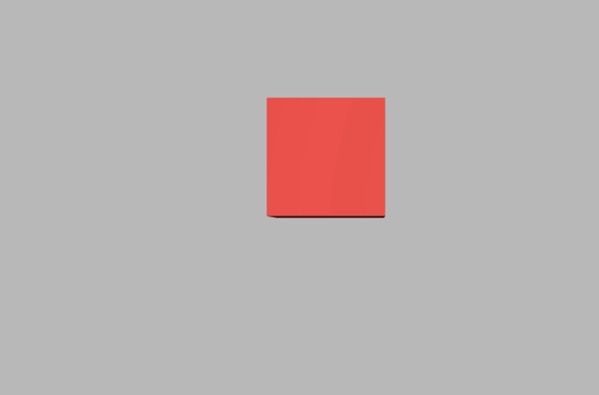
マウスをクリックすると、キューブの色が赤にかわる。
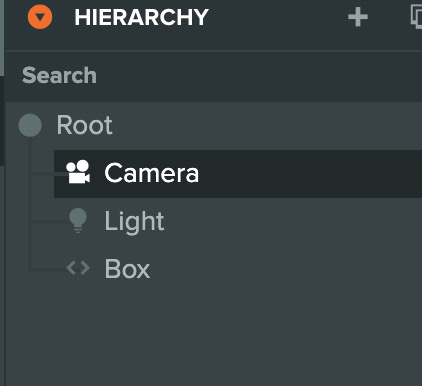
HIERARCHYにあるのは、Camera、Light、Boxの3つ。

ASSETSには、Blue、Green、Redの3つのMaterialとmouse.jsのSCRIPTがある。

BlueのMATERIALのプロパティ。
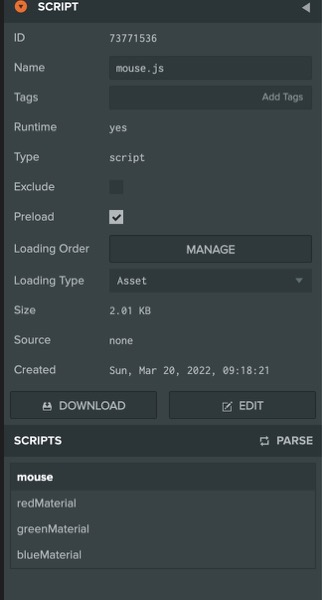
mouse.js SCRIPTのプロパティ。
mouse.jsのSCRIPTの検証
var Mouse = pc.createScript('mouse');

Mouse.attributes.add('redMaterial', {
    type: 'asset',
    assetType: 'material'
});

Mouse.attributes.add('greenMaterial', {
    type: 'asset',
    assetType: 'material'
});

Mouse.attributes.add('blueMaterial', {
    type: 'asset',
    assetType: 'material'
});

// initialize code called once per entity
Mouse.prototype.initialize = function() {
    this.pos = new pc.Vec3();

    // Disabling the context menu stops the browser displaying a menu when
    // you right-click the page
    this.app.mouse.disableContextMenu();

    // Use the on() method to attach event handlers.
    // The mouse object supports events on move, button down and
    // up, and scroll wheel.
    this.app.mouse.on(pc.EVENT_MOUSEMOVE, this.onMouseMove, this);
    this.app.mouse.on(pc.EVENT_MOUSEDOWN, this.onMouseDown, this);
};

Mouse.prototype.onMouseMove = function (event) {
    // Use the camera component's screenToWorld function to convert the
    // position of the mouse into a position in 3D space
    var depth = 10;
    var cameraEntity = this.app.root.findByName('Camera');
    cameraEntity.camera.screenToWorld(event.x, event.y, depth, this.pos);

    // Finally update the cube's world-space position
    this.entity.setPosition(this.pos);
};

Mouse.prototype.onMouseDown = function (event) {
    // If the left mouse button is pressed, change the cube color to red
    if (event.button === pc.MOUSEBUTTON_LEFT) {
        this.entity.render.meshInstances[0].material = this.redMaterial.resource;
    }

    // If the left mouse button is pressed, change the cube color to green
    if (event.button === pc.MOUSEBUTTON_MIDDLE) {
        this.entity.render.meshInstances[0].material = this.greenMaterial.resource;
    }

    // If the left mouse button is pressed, change the cube color to blue
    if (event.button === pc.MOUSEBUTTON_RIGHT) {
        this.entity.render.meshInstances[0].material = this.blueMaterial.resource;
    }
};
mouse.jsのコード。
this.app.mouse.on(pc.EVENT_MOUSEMOVE, this.onMouseMove, this);
this.app.mouse.on(pc.EVENT_MOUSEDOWN, this.onMouseDown, this);
マウスの操作を取得するコード。
pc.EVENT_MOUSEUP – マウスボタンが開放されると発動
pc.EVENT_MOUSEDOWN – マウスボタンが押されると発動
とのことなので、先程のコードをpc.EVENT_MOUSEUPに修正
this.app.mouse.on(pc.EVENT_MOUSEMOVE, this.onMouseMove, this);
this.app.mouse.on(pc.EVENT_MOUSEUP, this.onMouseUp, this);
コードをみると、onMouseDownというfunctionがあるので、onMouseUpというfunctionを追加しないと動かないはず。
実行したところ、マウスを押したときの操作はできなくなったが、onMouseUpのfunctionが無いというエラーは発生しない。
Mouse.prototype.onMouseUp = function (event) {
    // If the left mouse button is pressed, change the cube color to red
    if (event.button === pc.MOUSEBUTTON_LEFT) {
        this.entity.render.meshInstances[0].material = this.redMaterial.resource;
    }

    // If the left mouse button is pressed, change the cube color to green
    if (event.button === pc.MOUSEBUTTON_MIDDLE) {
        this.entity.render.meshInstances[0].material = this.greenMaterial.resource;
    }

    // If the left mouse button is pressed, change the cube color to blue
    if (event.button === pc.MOUSEBUTTON_RIGHT) {
        this.entity.render.meshInstances[0].material = this.blueMaterial.resource;
    }
};
こちらを追加して、マウスを放すと色が変わった。
