KNXでは制御する機器の機能を設定したオブジェクトと呼ばれるものを、グループアドレスというところにまとめ、どんな動きをするかの設定を行います。
今回はそのグループアドレスの作り方と設定方法をご紹介します。
Group Addresses(グループアドレス)の作成
まずは、GroupAddressをつくるウィンドウを表示しましょう。

画面上部のメニューから
Workplace > Open New Panel > Group Addresses
をえらびます。

これがGroup Addressesのウィンドウです。
Group Addressesは
1. Add Main Group Address
2. Add

Add Main Group Address(メイングループアドレスを追加)します

MainGroupAddressはそのまま「MainGroup」で設定しました。

次にMiddleGroupAddressを追加します。こちらも「MiddleGroup」で追加しました。
1点、注意として、MiddleGroupAddressを追加するときは、先程作成したMainGroupAddressをクリックした状態で「Add Middle Group」のボタンを押してください。
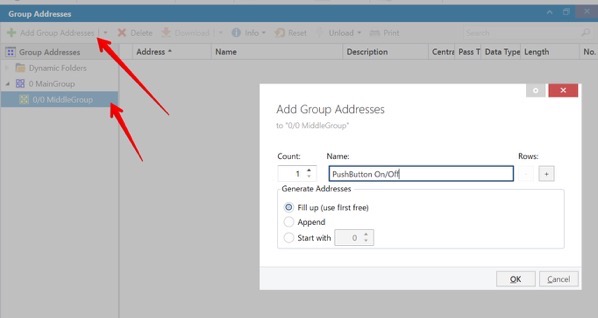
最後にGroupAddressを追加します。
この時も、先程作成した「MiddleGroup」を選択した状態で、左上部にある「Add Group Address」を押してください。名前は「PushButton On/Off」としました。

もうひとつGroupAddressを追加します。
名前は「PushButton Status」にしました。
グループアドレスとデバイスをつなげる
GroupAddressとデバイスの設定を行います。

Buildingのウィンドウを表示するため、上部メニューから
Workplace > Open New Panel > Building
をクリックします。

前回作成した、Buildingの中のデバイスを表示させます。
デバイスまで表示されていないときは、左の矢印をクリックして、2FやTrainingRoomのメニューを展開させてください。

TrainingRoomにある「Push Switch」を選択します。
表示される「Button1, function disable」「Button2, function disable」というのは「Group Object」と呼ばれます。
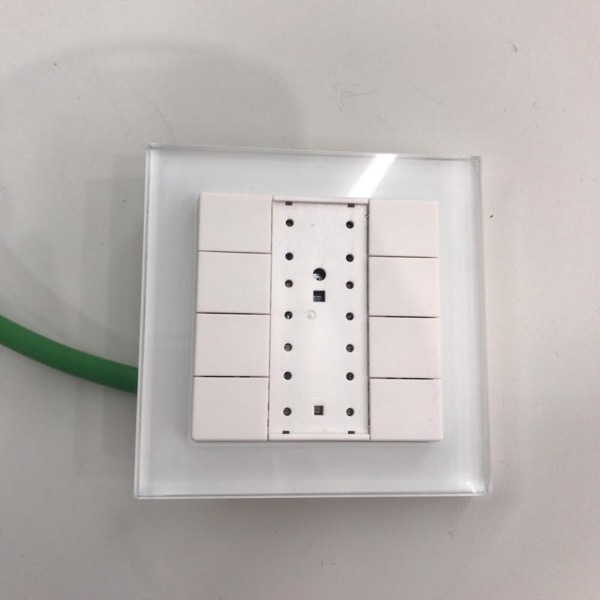
ちなみにこれがKNXのSwitchです。
合計8個のスイッチがあります。このスイッチのParameterを確認します。

画面下にある「Group Objects」の隣にある「Parameter」のタブをクリックします。
これで、Switchのパラメータが表示されました。
「Button number of device」が2と表示されていますが、このデバイスには8個のボタンがあるので、これを8に変更します。

ボタンの数を8にしました。
その下にある「2 independent push button」と「linked push button」は、左右のボタンが連動するかどうかを設定できます。
試しにボタン1と2はリンクするようにしましょう。

「n 1-2 use」のところを「linked push button」にしたところ、左側に「Button pair1」という表示になりました。

「Button pair1」を選び、「Choice of function」を「Switching」
「Working mode of upper/lower push buttons」を「On/Off」
にします。
ペアのボタンがOnとOffを設定することになりました。

下の「Group Objects」のタブをクリックしましょう。
Number 1に「Button par1,switching」というオブジェクトが作成されました。
これで、スイッチの方の準備は完了です。
次はこのスイッチと連動させるアクチュエーターのGroupObject(グループオブジェクト)の設定を行います。
