この記事は、
事務所デジタルツインプロジェクト-PlayCanvas/Babylonjs | GWアドベントカレンダーの8日目の記事です。
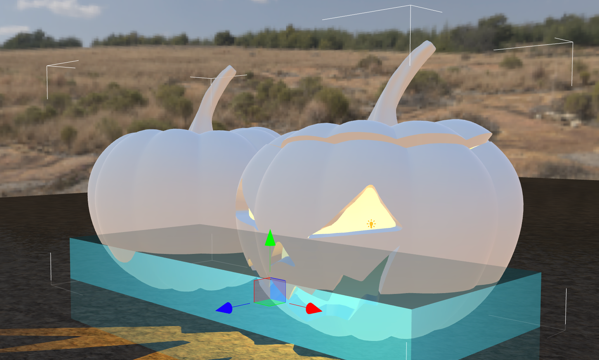
弊社の事務所にDALIというオープンでデジタルな照明制御の機器を導入したので、PlayCanvasで仮想空間に同じ事務所を作成し、Web上でボタンを押すと仮想空間の照明器具も点灯すると同時に、現実空間の照明も点灯、その逆もしかりというデジタルツインをやろうとしています。
前回の記事ではPCのキーボードのキーを押すと、照明が点灯するというふうにしました。(題名はボタンになっていますが…)
PlayCanvasでボタンを押すと照明をOn/Offする方法|デジタルライト(Digital-light.jp)
今度は、PlayCanvasでボタンを表示させて、そこをマウスでクリックしてボタンを押すようなことをしたいとおもいます。
そうすることで、Buttonを押すというイベントから、外部APIを叩き、現実空間のDALI照明を点灯・消灯させることにつなげられるかなと。
参考にするプロジェクト

参考にするプロジェクトはこちら。
User Interface – Buttons | Learn PlayCanvas
あと、2019年のPlayCanvasアドベントカレンダーで解説されている記事もよさそうです。
PlayCanvasでクリックできるボタンを設置する – Qiita
2D Screenの作成

Tutorialでは2D Screenのセットアップをしていますので、自分でも新しくPlayCanvasのプロジェクトを作成し、Add Unser Interfaceから2D Screenを追加します。

HIERARCYから追加。

これで2Dスクリーンがはいりました。

スクリーンの解像度はここで設定できます。

カメラの位置は2D Screenが見えるところに移動させます。
テキストの挿入

TEXTもいれてみました。

TEXTはフォントをいれないと表示されないので、TutorialプロジェクトにあったフォントをASSETSにコピペ。

TEXTのELEMENTのFONTにドラッグ&ドロップ。

位置を調整してTEXTが表示されました。
ボタンの挿入

HIERARCYからButton Elementを挿入しました。
ボタンの使い方については、こちらの公式マニュアルを参照。
Transition ModeはTintとSprite Changeがありますが、Tintだと単純にマウスを上にした時や押したときに色を変える、Sprite Changeはスプライトを変えて複雑なことができる様子です。

今回はTintでいきます。

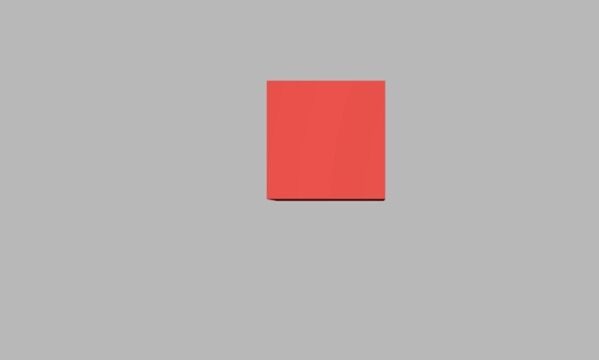
Launchしてみたところ、マウスを上にのせると赤、押すと青になりました。

いろいろボタンのテキストや位置・サイズを変更したら、Launchの画面で押しても反応しなくなりました。

確認の為、新しいButtonを追加し、Launchをやり直したところ、最初のボタンも反応するようになりました。変更があった場合には、再度、Launchをやり直すほうが良さそうです。
Buttonを押すとスクリプトが動くようにする
このボタンにスクリプトを組み込みます。

ButtonにADD COMPONENTでScriptを追加します。

button.jsというスクリプトをASSETSに作成。
Buttonのスクリプトはこちらの記事を参考にしました。
PlayCanvasでクリックできるボタンを設置する – Qiita
var Button = pc.createScript('button');

Button.attributes.add("message", {type: "string", default: "message"})


// initialize code called once per entity
Button.prototype.initialize = function() {

     // タッチできる端末だったら
    if(this.app.touch){
         // element componentがタッチされたらattributes: messageアラートとして表示する
        this.entity.element.on(pc.EVENT_TOUCHSTART, () => this.show(this.message))
    }else{
         // element componentがクリックされたらattributes: messageアラートとして表示する
        this.entity.element.on("click", () => this.show(this.message))
    }

};

// update code called every frame
Button.prototype.update = function(dt) {

};

Button.prototype.show = (message) => alert(message)
これでLaunchしてみます。
実行画面

ボタンをクリックすると、alertメッセージが表示されました。
まとめ
以上、ボタンを押すとイベントが発生するということができました。
次は、ボタンを押すと、照明が点灯・消灯するということをやっていきたいとおもいます。