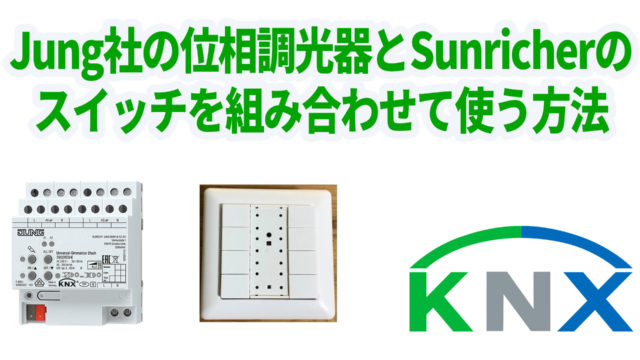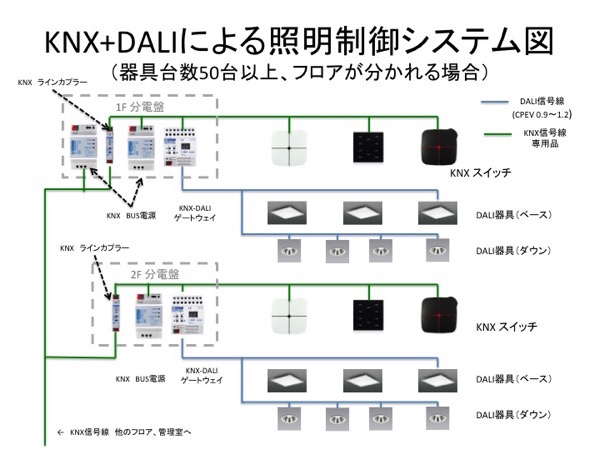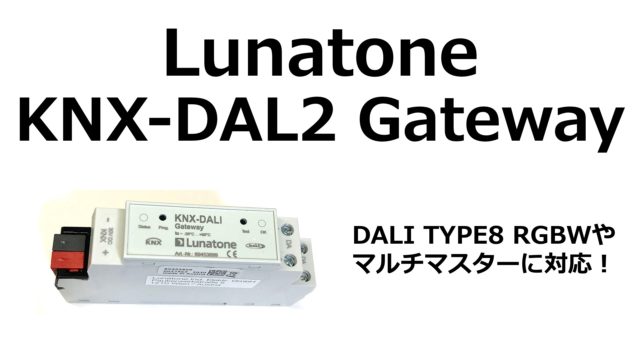
DALIやKNX,IoT系のトレーニングを開催していますが、これまでは講義のテキストにMS-WordやPowerPointを使っていました。
でも、Tanaka Seigo(@1ft_seabass)さんからHonKitが便利と教えていただき、環境構築方法も教えてもらったので、あらためてその使い方をメモしておきます。
HonKitの設定については、↓ こちらの記事を見ながら復習しました。
honkit/honkit: HonKit is building beautiful books using Markdown – Fork of GitBook
授業資料やハンズオン資料に使っている HonKit の設定メモ 2022 年 12 月版 – 1ft-seabass.jp.MEMO
事前準備(前提条件)
前提条件
ーgithubのアカウントをもっていること。
ーgithubにssh接続ができること。
ーローカルにgit cloneができること。
ーVisual Studio Codeがインストールされていること
ローカル作業フォルダ作成。
Git レポジトリ作成
seigoさんが作成したhonkitのテンプレートに移動。

create new repositoryで自分のgithubアカウントにレポジトリを作成する。

honkit-test2というレポジトリを作成。

自分のMac環境にクローンするための情報をコピーします。
ローカルにgit clone
自分のMacにてTerminalを起動。
HonKit作成用のフォルダに移動し、git cloneといれてから先程コピーしたものをペーストします。
git clone git@github.com:nakachon/honkit-test2.git
作成されたhonkit-test2というフォルダに移動してからVScodeを立ち上げます。
code .

VScodeが立ち上がったら、Terminalを開きます。
npm i

ビルドします。
npm run build
ローカル環境でserverを起動します。
npm run serve
これでserverが立ち上がり、localhost:4000を開くと

ブラウザで表示されます。
github pageで表示させる

レポジトリの右上にある”Settings”をクリック。
左下にある”Pages”をクリック。
GitHub Pagesの設定がでてくるので、Branchのところを”None”から”main”に変更。

フォルダはdocsにしてSave。

しばらくすると、github pageのURLが発行されます。(数分かかります。)

この時点ではcommitしていないのでクリックしても404になります。
ページを作成

ドキュメントを作成する場合、SUMMARY.mdが左側に表示される目次になるので、ここにファイル名を記載して、ページをつくっていきます。

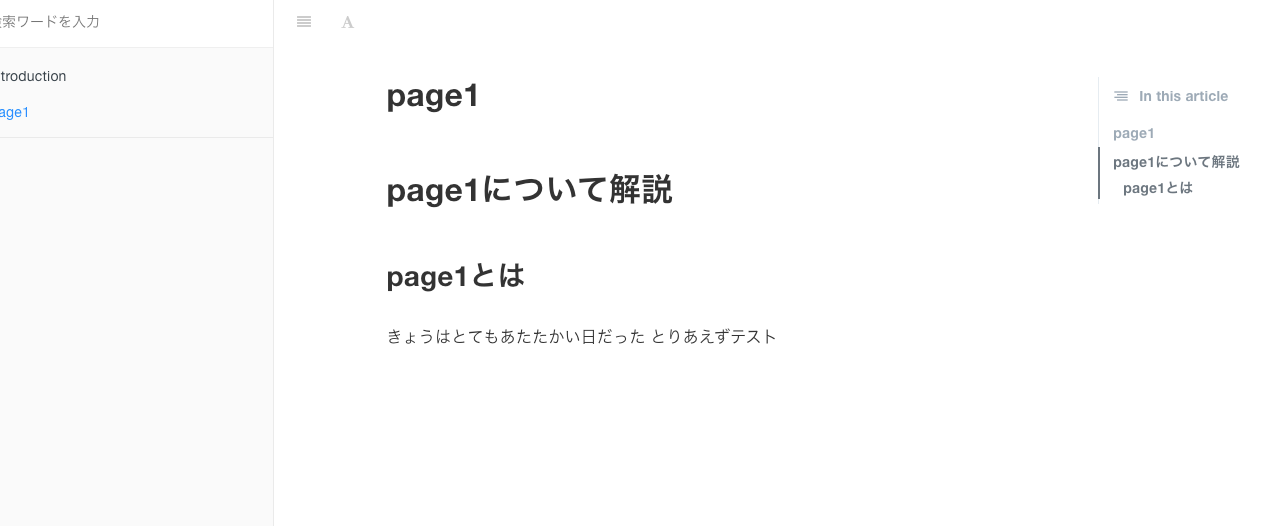
page1.mdを作成。

summary.mdにリンクを記載。
編集が終わったら
npm run build
git commit and push

VScodeのGitボタンをクリックして、コメントをいれてコミットをおします。

はいをクリック。

変更の同期をします。
これで、git pageにて反映されます。(ちょっと時間がかかる)

反映されました。
まとめ
技術系チュートリアルのテキストを作成する際、GoogleDocumentやPowerPointなどは、いろんな意味で手間がかかるのでなんとかしたいと思っておりましたが、HonKitを使うことによってそれが改善されそうです。
また、HonKitで作成したテキストを元に、Camtasiaなどで動画を撮影することで、DALIやKNX,IoT系の情報量豊富な学習コンテンツをこれからつくっていきたいと思います。