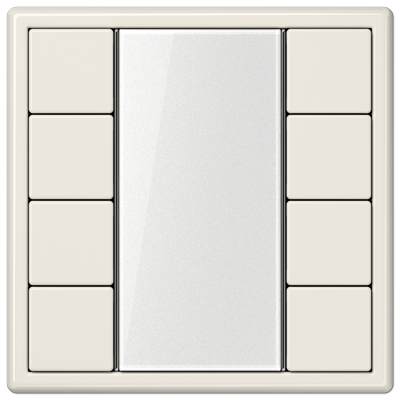
JUNG社のKNX製品「Push-button interface, 4-gang」についてのメモです。
![JUNG_2076-4T.png JUNG 2076 4T](https://digital-light.jp/wp-content/uploads/2018/12/JUNG_2076-4T.png)
こちらのモジュールの4つの接点でデータを受け取り、4つのシーンの切り替えを行います。
Push-button interface, 4-gangデバイスのGroup Objects(グループオブジェクト)
![208.jpg 208](https://digital-light.jp/wp-content/uploads/2018/12/208.jpg)
Group Objectは以上4点。
![209.jpg 209](https://digital-light.jp/wp-content/uploads/2018/12/209.jpg)
Data Typeは18.001 (scene control)です。
Push-button interface, 4-gangデバイスのパラメータ
デバイスのパラメータを見ていきます。
■ Function
![201.jpg 201](https://digital-light.jp/wp-content/uploads/2018/12/201.jpg)
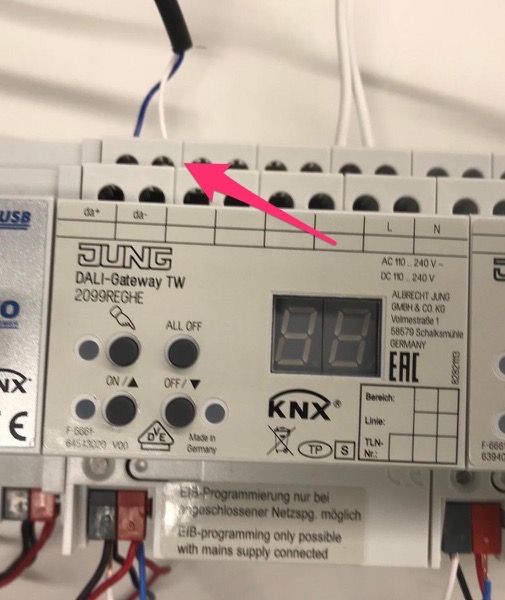
4つのワイヤーがあり、1と2については接点(binary input)ではなく最大0.8mAを出力してLEDを点灯させることができます。
■ General
![202.jpg 202](https://digital-light.jp/wp-content/uploads/2018/12/202.jpg)
■ Input1
![203.jpg 203](https://digital-light.jp/wp-content/uploads/2018/12/203.jpg)
入力1のパラメータです。
![204.jpg 204](https://digital-light.jp/wp-content/uploads/2018/12/204.jpg)
Function input1としてどのような機能を使うかをこちらで設定します。今回は「value transmitter」として使っています。
![205.jpg 205](https://digital-light.jp/wp-content/uploads/2018/12/205.jpg)
valueがどんなものかをこちらで選択します。
今回は照明のシーンを呼び出すので、”light-scene extension without storage function”にしました。
■ Light-scene on rising edge
![206.jpg 206](https://digital-light.jp/wp-content/uploads/2018/12/206.jpg)
こちらで、シーンの番号を設定します。
![207.jpg 207](https://digital-light.jp/wp-content/uploads/2018/12/207.jpg)
![](https://digital-light.jp/wp-content/uploads/2018/12/210.jpg)
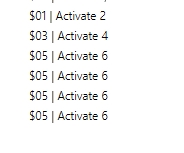
これで、該当する接点をつかうとDiagnostics(KNXモニター)で見たときに設定した値がinfoのところにあらわれます。
ただし、シーンは6にしたのですがデータとしては0始まりのために一つ少ない”$5″が送らるようです。