Intesisの「Daikin VRV and Sky systems to KNX Interface」とKNXの管理サーバーを使って操作する方法を確認します。
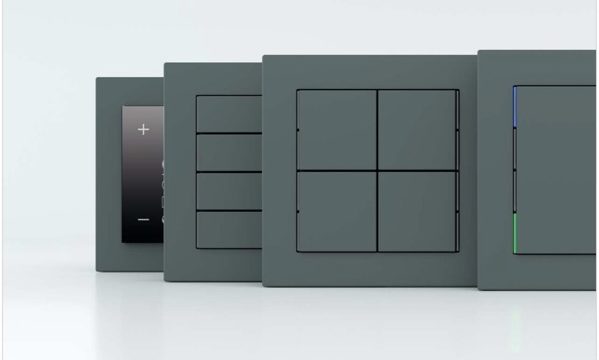
Daikin VRV and Sky systems to KNX Interface
KNX側ETSの設定

ETSのグループアドレスはこのように設定しました。
bOS ConfiguratorでETSのプロジェクトをインポート
ETSの設定をbOS Configuratorでインポートします。
(Modbusと同じbOSプロジェクトです)

このように表示されるので、修正していきます。

以前の記事、intesisBox DK-AC-MBS-1 Modbusインターフェースをつかった管理サーバー接続方法を見ながらTYPEは近いものを選びます。

4つのデバイスが読み込まれました。

Templateを選択します。こちらもModbusの記事を参照して同じものを選びます。

Devicesに表示されました。
読み込んだKNX Deviceの設定
bOSのDeviceにはKNXのStatusのグループアドレスの紐付けができます。
.jpg")
KNX DeviceのSettingからStatusのグループアドレスを入力します。
パネルの作成

操作パネルは、KNX-ACとModbus-ACの2種類を作成。Modubusの方はサンプルライブラリーにあったものを使用します。

Deviceのオブジェクトを移動するだけだと、On/Offは効きますが、それ以外のControlMode、Fan Speed,Setpoint Tempratureが操作できません。
パネル AC動作Modeの設定


KNX側のControlModeのプロパティです。
.jpg")
ModbusのModeのプロパティを確認します。


これがプロパティ。
Status Valuesが(コレクション)となっているのでクリックします。

KNX側もこのように設定します。

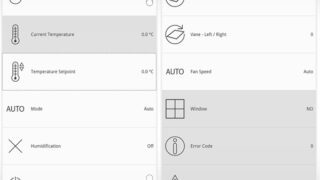
すべて編集すると、このようにACのModeを選択できるようになります。
Temperature Setpointの設定
.jpg")
設定温度のパネルの設定をします。まずは、Modbus側のプロパティをチェック。


KNX側のプロパティを修正していきます。
.jpg")
Value > Templateで、”Temperature Setpoint”があるので、これを選択します。


これで温度設定の操作ができます。
.jpg")
また、温度の上限・下限の設定をするには、DeviceのValueで右クリックすると表示される”unit”をクリックするとこの設定ができます。
これで、KNX側のRoom1 Setpoint Temperatureができました。
Room1 Fan Speed

同様にRoo1 Fan Speedも設定します。
KNX側AC操作パネル

操作パネルの”Room1″が表示されるのは冗長になるので削除。最終的にはこのようになりました。