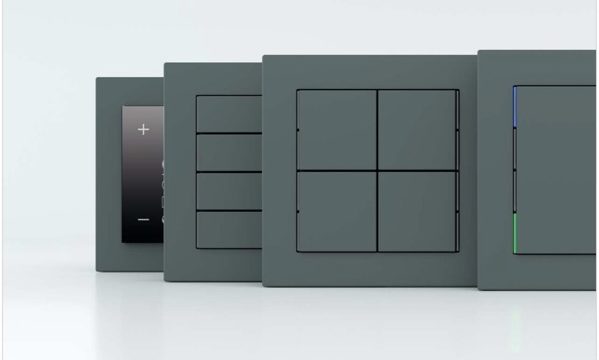
JUNG社のKNXボタン「Universal push-button module, 4-gang(LS 5094 TSM)」についてのメモです。

プログラミングボタン
このモジュールにはプログラミングボタンがありません。

個別アドレスを書き込む場合は、(11)のボタンを押したあと(12)のボタンを押し続けます。しばらくするとLEDが点滅するので、これでプログラミングボタンを押した状態になります。
Universal push-button module, 4-gang(LS 5094 TSM)のGroupObject(グループオブジェクト)

こちらはParameterで設定した後に表示されるGroupObjectです。

Data Typeが”dimming control”のオブジェクトのプロパティです。

Data Typeが”1bit”のオブジェクトのプロパティです。
Universal push-button module, 4-gang(LS 5094 TSM)のParameter(パラメータ)
■ General

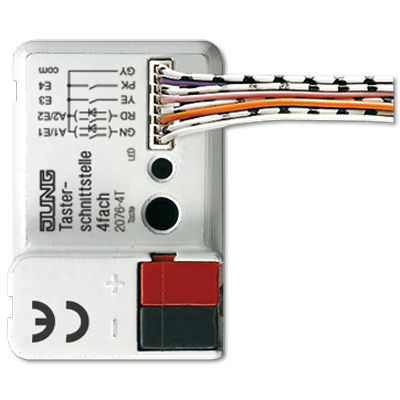
Pushbutton extension module(TSEM)というのは、このボタンで親子を作ることが出来ます。

こちらが接続例。私は最初、KNX信号の送りで使えるかと思ったのですが違いました。お気をつけください。
■ Configuration TSM

動作している場合にボタンについているLEDを何色で点灯させるのかといったことが設定できます。
■ TSM – Operation concept

このタイプのスイッチは左右を対にして使うか、別々の機能として使うかを選ぶことができます。
今回、左のスイッチで調光(ダウン)、右のスイッチで調光(アップ)として使うため、Operation concept of buttons 1 and 2はRocker function(rocker1)として使います。
■ TSM – Rocker 1(Button1/2)

ボタンを長押しした時のFunctionです。


ボタンをポンと押したときに送られるデータはOnかOffです。
それに対して調光(明るくする)長押しした場合。

“$09 Increase,100%”と “$00 Decrease, Break”というデータが送られます。

調光の時は、
1.押した瞬間に送られるデータ(押しっぱなし)
2.ボタンを離したときに送られるデータ
といったデータになっています。
それに対して調光(暗くする)時は


調光ボタン(暗くする)を押した瞬間、”$01 Decrease, 100%”がおくられ、離したときに”$00 Decrease, Break”が送られます。

おそらくこれが「Transmit stop telegram」のようです。

試しにこれを”No”にしてみて、ボタンを長押ししてみました。

結果は”$09 Increase, 100%”が送られた後、ボタンから手を離しても”$00 Decrease, Break”が送られないので、100%の明るさになってしまいます。
ボタン長押しで調光したいときにはボタンから手を離した時にそのレベルで止まるように”Transmit stop telegram”をOnにしておきましょう。
■ TSM – R1 – Status LED

こちらでボタンを押した時にLEDを何色に点灯させるかの設定ができます。