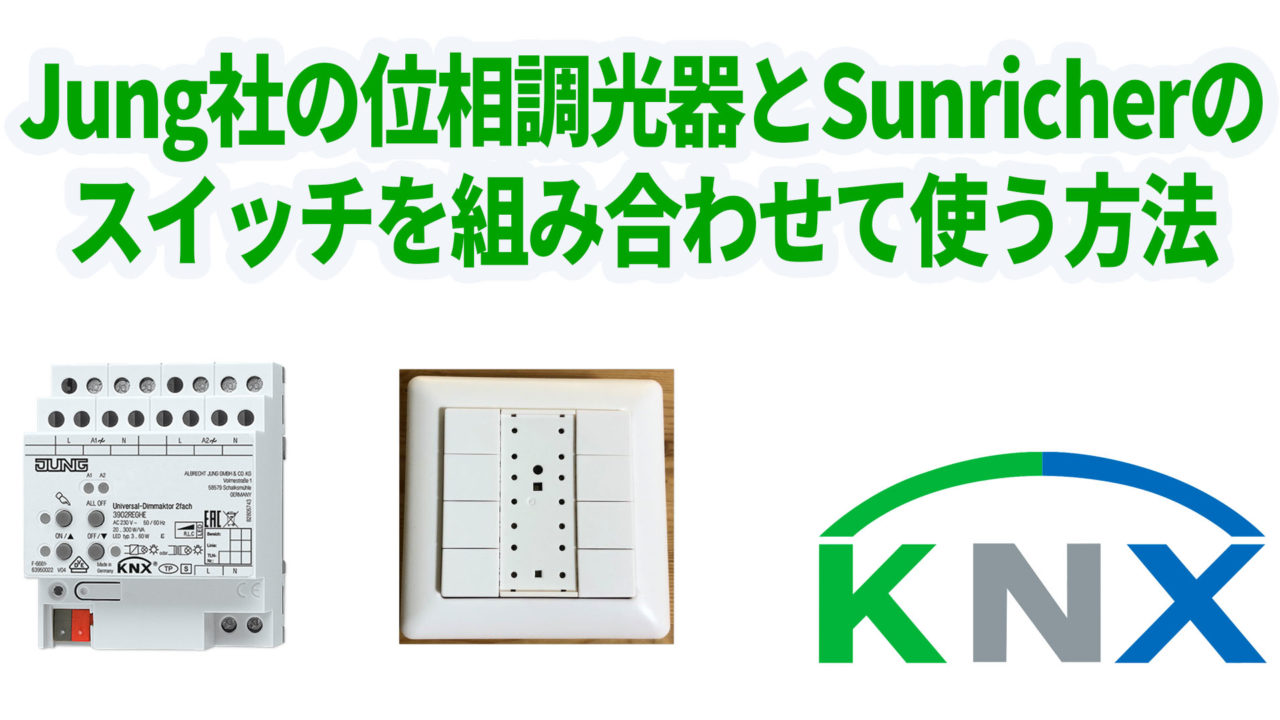
先日検証をしたJung社の位相調光アクチュエータ 3902REGHEと、Sunricher社のKNXスイッチ KN9551を組み合わせて使う場合のETS5での設定を紹介します。
JUNG社KNX LED universal dimming actuator,3902 REGHEを検証してみた|デジタルライト(Digital-light.jp)
グループアドレスの設定

まずは操作するためのグループアドレスを作ります。
スイッチOn/Offの為に、
0/1/0 : Light On/Off 1bit
調光の為に、
0/1/1 : Dim Light 4bit
以上の2種類を作成します。
Sunricher KN9551のParametersとGroup Objects

SunricherのKNXスイッチは8つボタンがあるタイプで、同じ段の左右のボタンは一対のペアスイッチとして利用できます。
.jpg")
Button number of deviceを8、今回は3段目のスイッチを一対として使ったので、Button 5-6 useを”linked push button”にします。

Button pair3をクリックし、
Choice of functionはDimming,
Manner of dimmingは Start-Stop dimming、
Working mode of upper/lower push buttons for switchingは、On/Off。こうすることで、長押しで調光、普通に押すとOn/Offとひとつのボタンで2つの機能を付加できます。
ただし、これはKNXスイッチのタイプによって使えない場合があるので注意しましょう。
Working mode of upper/lower push buttons for dimming はBrighter/Darkerです。Offボタンで調光は明るくなったり、Onボタンで超高ボタンは暗くなったりする場合は、このチェックを確認します。
作成されるグループオブジェクトは、Switchingという1bitとRelative dimmingという4bitになるので、それぞれグループアドレスにリンクします。
Jung 3902REGHEのParametersとGroup Objects
.jpg")
Type of connected loadはuniversal。これは位相調光器に何をつなぐかですがまずはUniversalでやってみましょう。
Maximum brightnessは100%。実際のランプの性能に対して最高の明るさを何%にするかを設定します。
Switch on Brightnessは、Onの信号を受けたときの明るさです。
.jpg")
Dimming characteristicはLinearを使用。
.jpg")
グループアドレスはこのように設定。
動作チェック

点灯

消灯
ボタンを長押しすると調光もできました。
まとめ
以上、SunricherのKNXスイッチとJung社の位相調光器を組み合わせたETSの設定を行いました。
実はLED電球(調光対応)で試してみたのですが、うまくいかなかったので今回は白熱電球でやっています。引き続き、他のLED電球でも試してみたいと思います。